How it works
Custom tuck box printing, step by step
Five steps from an idea to cartons on your packing table. You see and approve your artwork on the dieline before anything prints, and you pay after you approve.
- 01
Pick a style and size
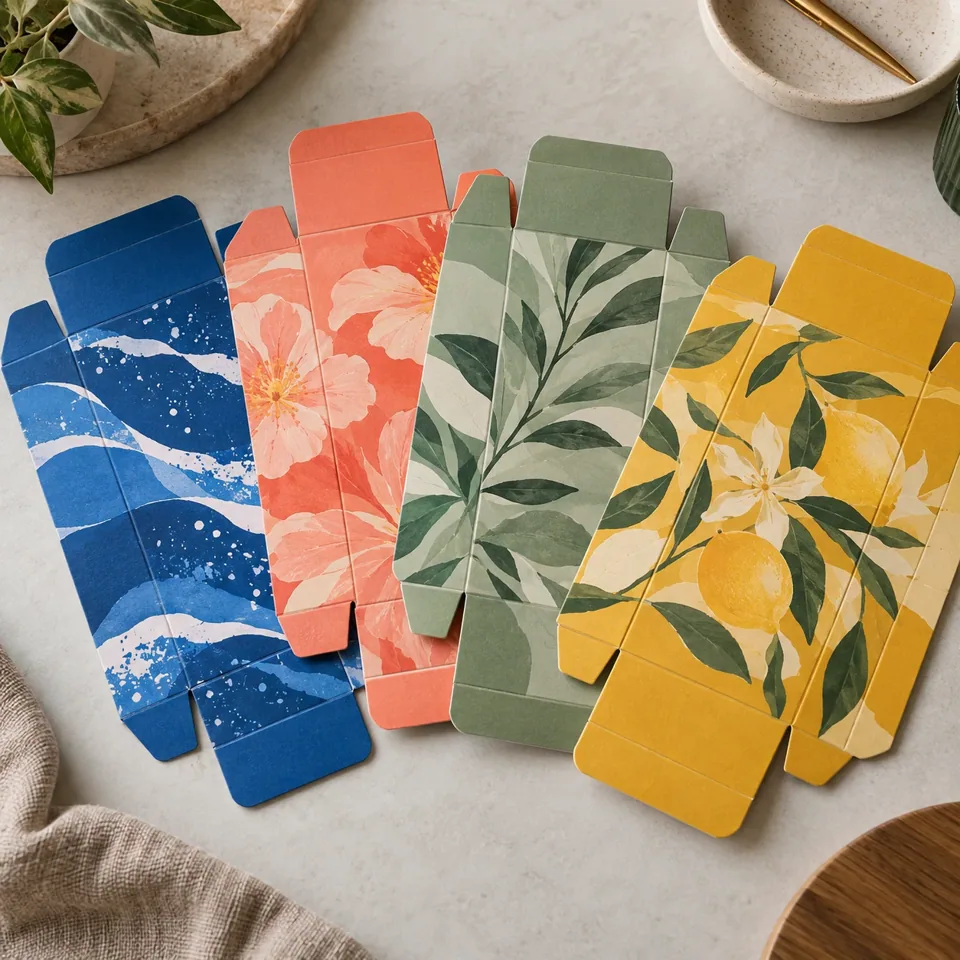
Choose the tuck style with the style picker or the style guide, then the size: a preset, or your product's inside dimensions. Not sure? Describe the product in the quote form and we suggest both.
- 02
Send artwork, or ask for design help
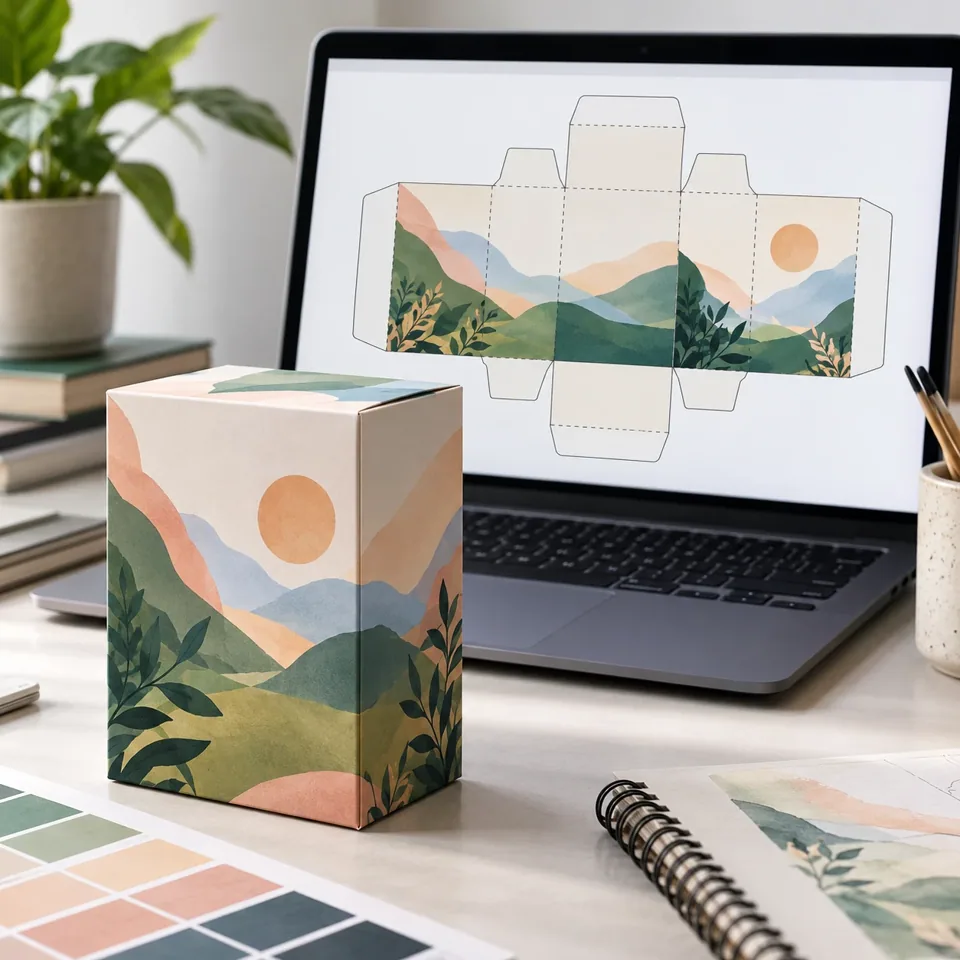
Send print-ready artwork, or just a logo and an idea: design help is free. Free planning dielines for common styles let you start placing artwork yourself.
- 03
Approve a digital proof
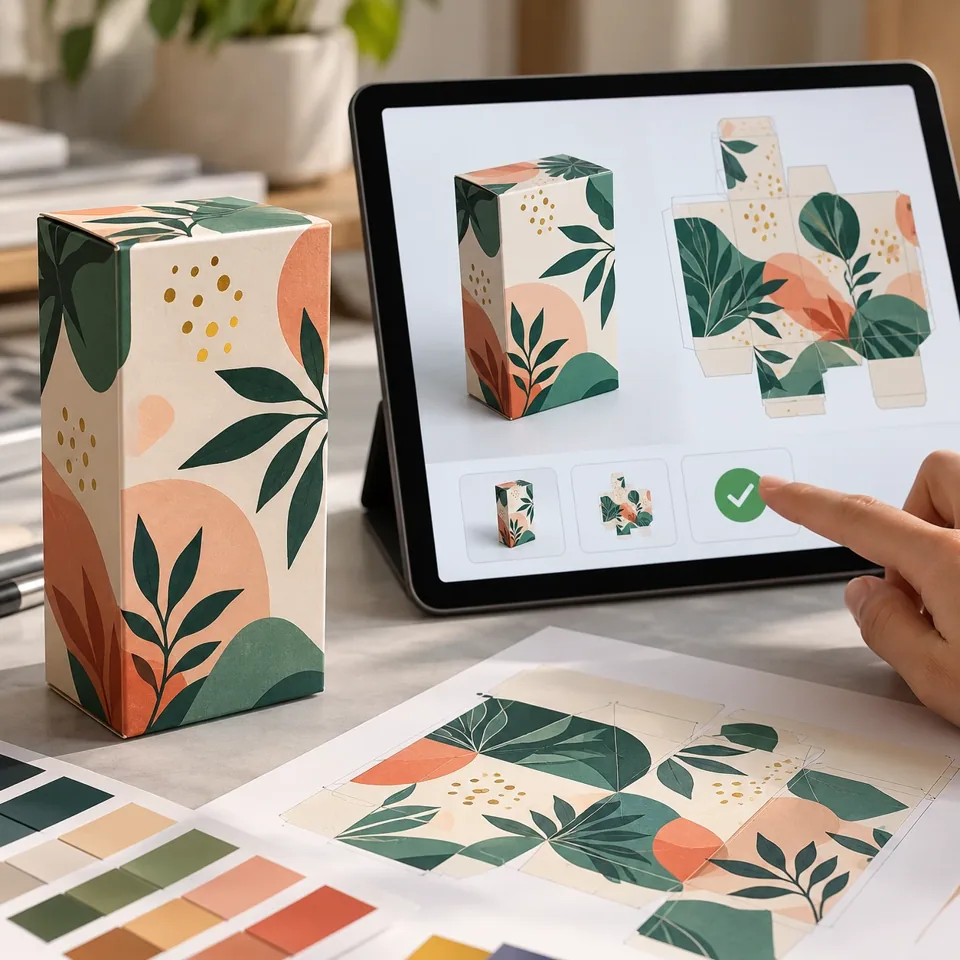
You get your artwork placed on the dieline for your exact size. Check spelling, colours and dimensions. Nothing prints until you approve the proof.
- 04
We print and finish
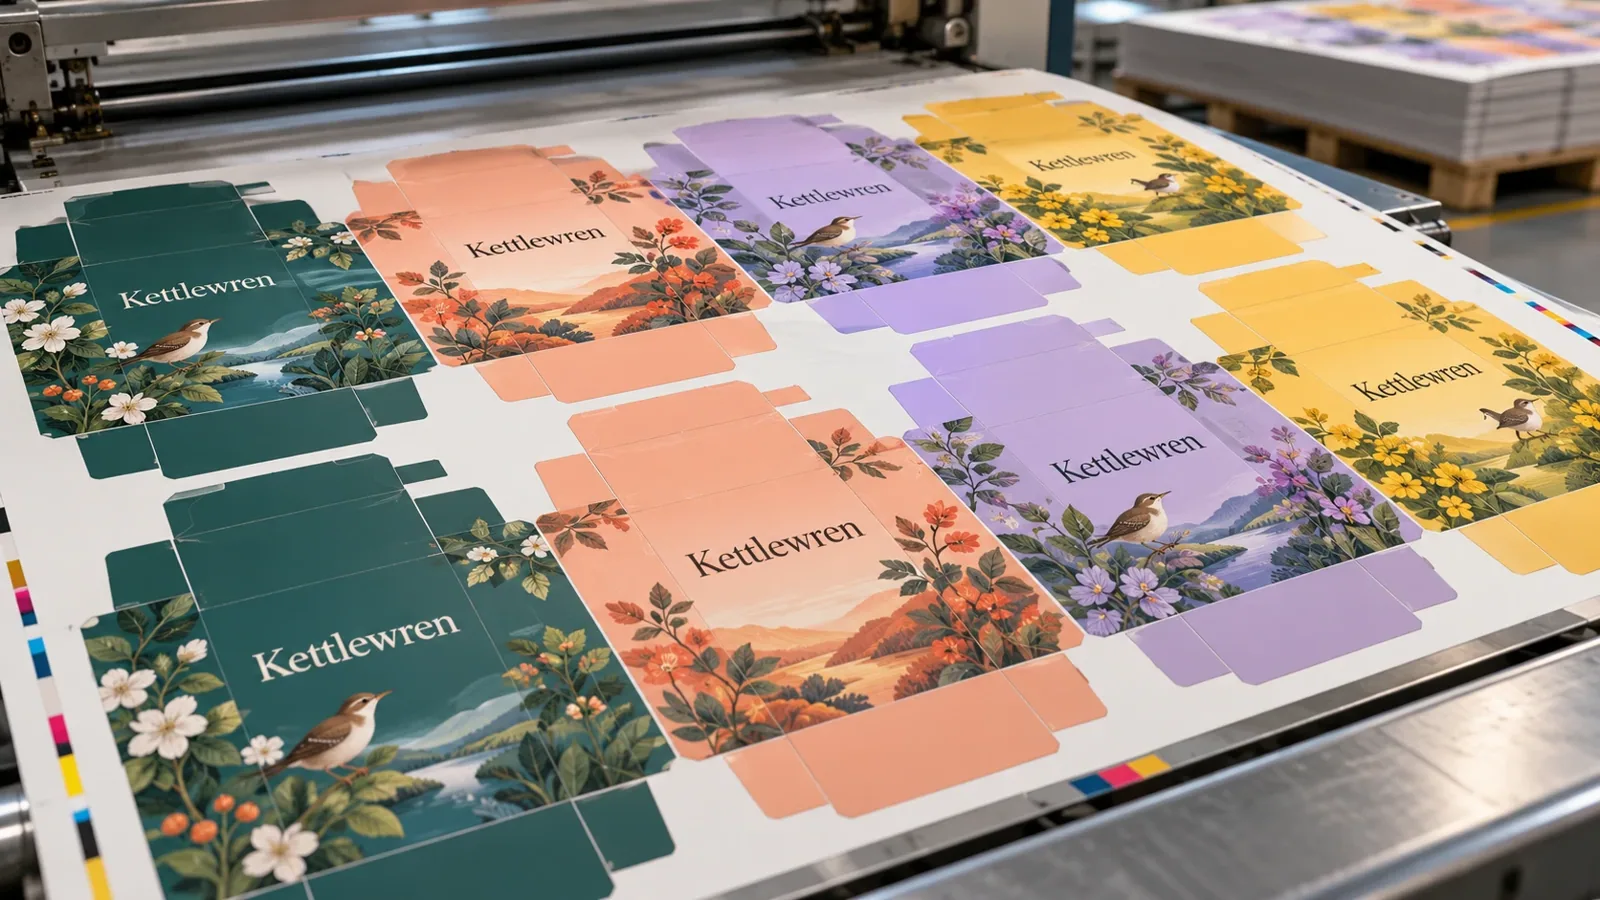
Printing, finishing, die-cutting and gluing follow the approved proof. Production is fast once the proof is approved.
- 05
Delivered flat
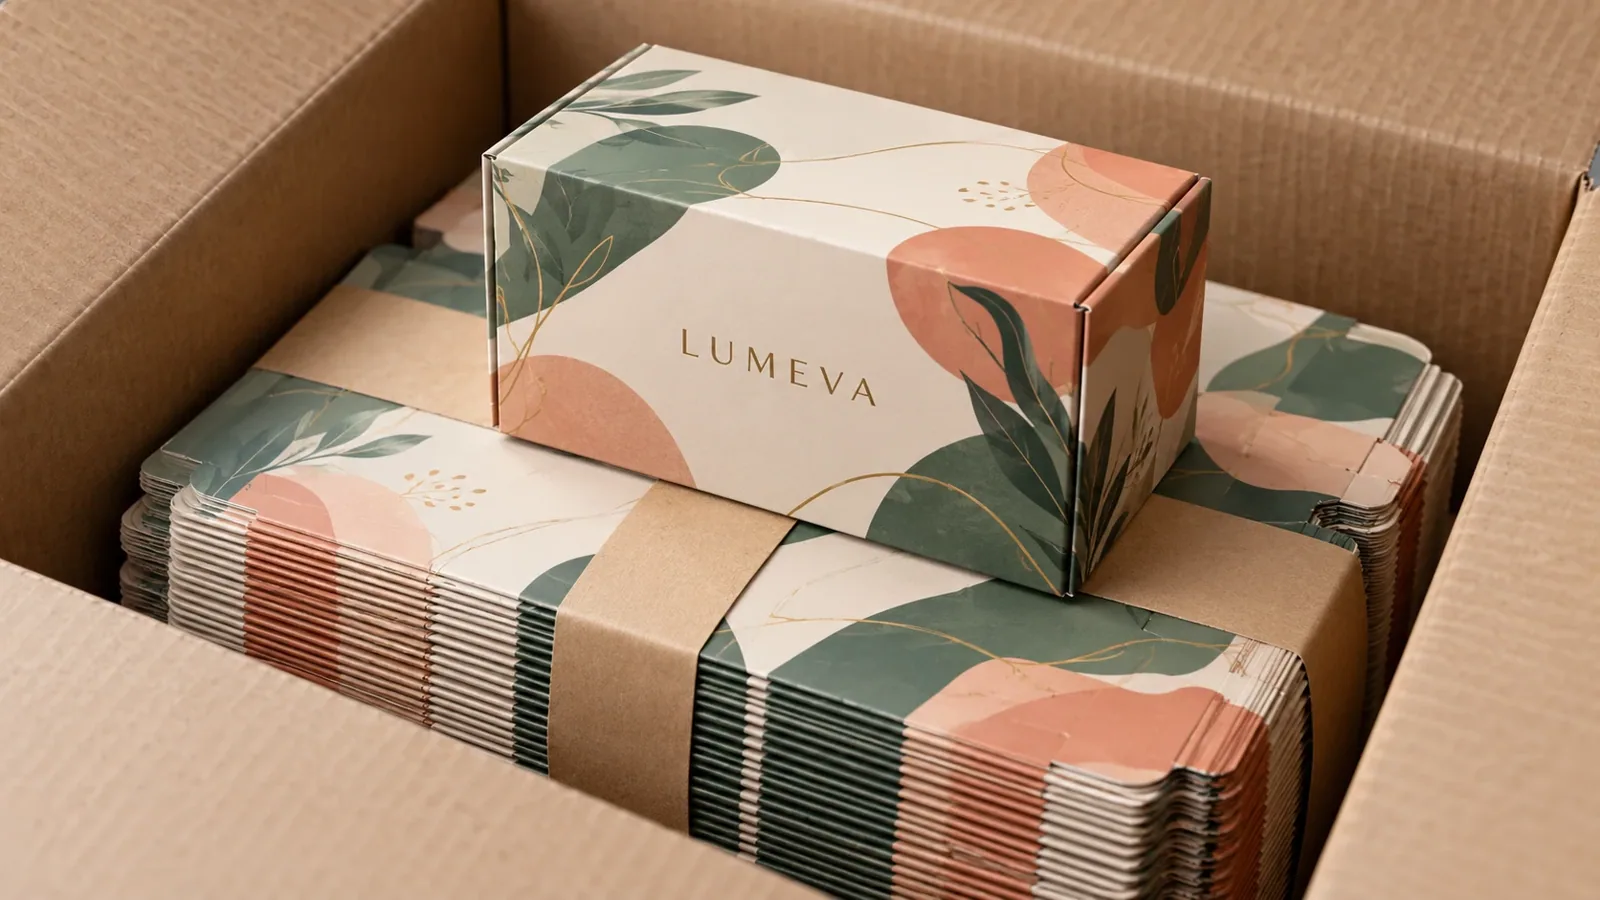
Cartons ship flat to save space and fold by hand: square up the body, close the bottom, fill, tuck the top flap.
Paying
Fixed-price items go in the cart with no card needed. Quoted orders are confirmed by email. Either way you pay the invoice after you approve your proof.
Shipping
Standard ground shipping to the contiguous US is included in listed prices. Delivery dates are estimates. See shipping and returns and reprints.